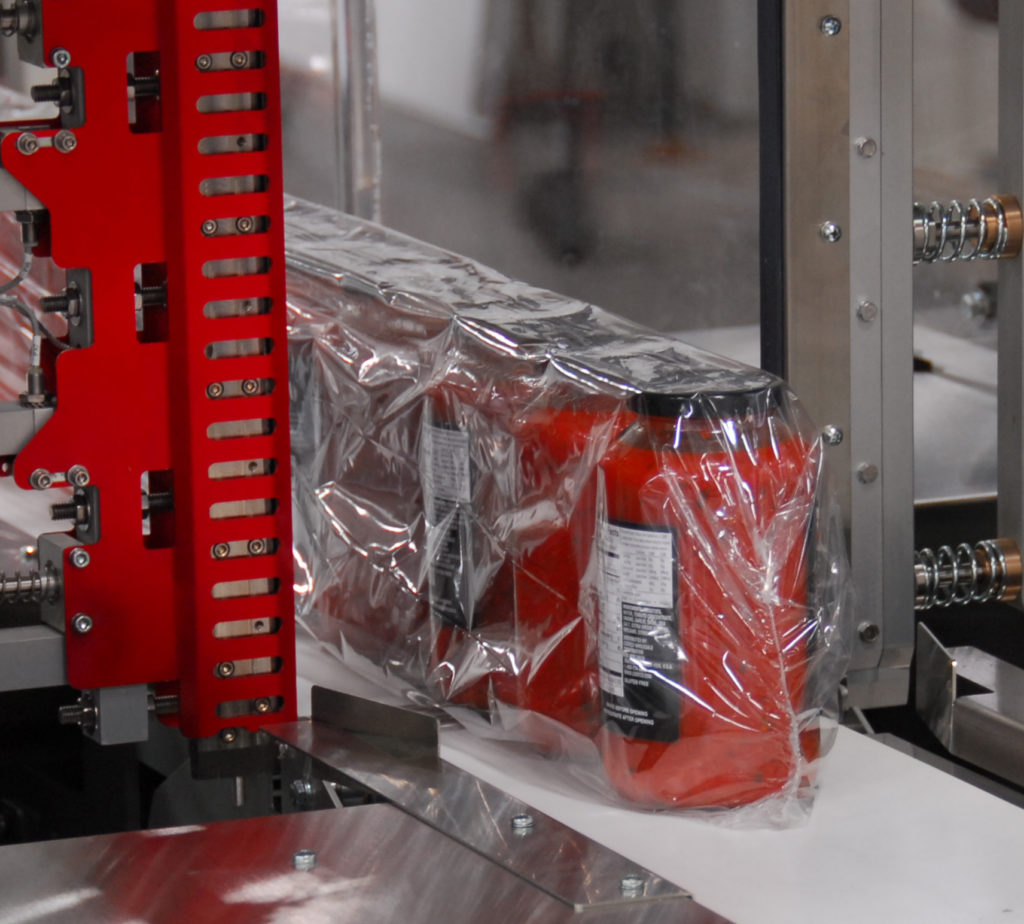
Follow these tips to fine tune your end seal performance:
The key to a successful package starts with the seal. A bad seal can lead to premature product spoilage, cost you money, and reflect poorly on your brand.

FILM ISSUE or MACHINE ISSUE?
When troubleshooting end seal issues, first you need to determine if the problem is a film issue or a machine issue. Replace the roll of film with a new roll. If the problem persists, it may be a machine set-up issue. If possible, try the questionable roll on another machine. If the seal issues appear on the second machine, then you likely have a bad roll of film.
A MACHINE ISSUE
If the issue seems to be rooted in the set-up of the machine, here are a few tips to try to remedy the problem. You want to revisit the basics: temperature, time, pressure, and the absence of seal tension. Seal issues are often rooted in one of these four components. It’s important to remember that before you make any adjustments, record the current settings so you can return to them if needed.
STEP 1: TEMPERATURE
First step is to lower the seal temperature 5-10 degrees as the machine is running. Wait 3-5 minutes for the temperature to stabilize. Repeat this process until the end seal no longer cuts the film cleanly, then increase the temperature 10-15 degrees. This will set the seal head at the optimal temperature.
STEP 2: TIME
The seal dwell time varies widely depending on machine type, film gauge, run speed, and operator preference. If you can, increase dwell time a little, as product speed allows. If that does not help, try lowering the dwell below the original set point.
STEP 3: PRESSURE
Next, check seal pressure by stopping the machine and removing packages from the seal area. Lay a plain piece of paper over the seal bed and make a manual seal. Examine the impression on the paper to ensure it is consistent across the paper. If the impressions seem more pronounced on one side or the other, there is likely a vertical alignment issue. If the impression is more pronounced on just the ends or just the middle, the seal blade is likely not seated properly or warped. If the impression is very faint, check the incoming air pressure for pneumatic machines, or the seal pressure setting on servo machines.
STEP 4: FILM TENSION
If you need to troubleshoot further, the next step is to try and make an empty bag. If you can make an empty bag and get a good seal, you should get that same seal when you run product. If you don’t, you have a set up problem.
Most likely you have some tension on the film during the end seal cycle. Watch the space between packages when the seal bar comes down. Look for movement of the packages when the upper and lower seal bars meet. If the packages are lifting off the belt, your seal plane is set too high. If the packages move away from seal bar, either your seal plane is too low, or you package spacing is too close.
Watch the space between packages again; look to see that the spacing is consistent. If the gap between packages varies, follow the packages upstream to the point where the spacing is varying; the point where the gap changes is your problem spot. You need to make sure the film is relaxed during the seal cycle (no tension pulling on the film). Ensure both film clamps are landing fully on the seal pad.
FOR THE BEST SEALS
It’s also a good idea to clean the seal blade. To do this, use a clean dry cloth or film. Press the cloth or film up into film clamps and rub the seal blade, taking care not to burn yourself. Use a mirror to examine the seal bar for worn or damaged coating. If Teflon coating is damaged, replace the seal blades. Check the seal pad for damage. Replace the pad if it has a cut in it and film is building up on it. For soft low energy polyolefin films and polyethylene films, to get a clean cut-off you may need to apply .003mil Teflon tape to the seal pad.
STILL HAVING TROUBLE
If end seal issues still persist, contact your packaging equipment supplier for tips specific to your machinery. Or, you can check here to see if the style of your product or application is a good fit for your shrink wrapper style.
Related Information: Learn more about End Seal Insert Styles and Compatibility
